Saturday, August 6, 2016

Water Heater

The original setup had a small water heater below the galley sink which had an open flame and required repair and renovation to make safe. This I felt was unwise. The primary use of this boat will be in the South West with plenty of sunshine so I thought a small solar system would be adequate for the occasional warm shower after spending time playing with the cold water of the Colorado River.

Thus setup a time consuming saga. The first part was quite easy with the addition to the first fit of the plumbing of a cold feed to the roof and a return line to the hot taps and shower. But then began a frustrating time.

The solar collector needed to be light strong and simple. The first concept was to get a large plastic tube to act as a reservoir and heat collector and to mount this to the outside of the roof rails.  However this led to a series of frustrating failures when the system was pressurised Either the tubes failed at the end joins or the the pipe connections or on one occasion the pipe itself failed. Sometimes the failure was immediate or other times the system got to pressure and the pump stopped for a slow small leak to develop that increased to a torrent again.


This led in the end to the mark 4 version where I abandoned the large pipe resevoir collector and created a spiral of tube which was then painted black. This version worked first time. If only I had known, so much frustration could have been avoided


Next the Solar collectors

Thursday, June 23, 2016

Second Fix in the Cabin

Once the foundation ie floor and services were reestablished progress could sometimes be rapid when other priorities didnot take over such as re landscaping the back yard and worse still work!!!!!!!!!!!


The basic layout has remained the same, with from the back to front. The Head on the left, and Galley to the right. The fridge has been replaced by an all electric 12v model taking its power from the solar panels and backup batteries. (more of that later).


The dinette on the left has been replaced with a sofa bed designed for a toy hauler so it will also lift right up leaving access to the storage area underneath.


The galley also includes a 12v Microwave mounted above the utilities area.


The counter top now includes a full size sink from IKEA and a two ring propane cooker with extractor hood above.The rear two section the front edge now includes a small storage area and a deeper shelve in the utility area.


The front seating  now consists of two IKEA office chairs and West Marine adjustable height pedestals. These seats were cheap and fitted the style we are hoping to achieve. Most of the marine seats were for open cabin situations and did not have the desired look. Additionally now the two original chair bases have been turned into movable and height adjustable coffee tables for the house.

To the sides of both seats have been created shelves and panels to cover hull and utilize the space.


With both front seats swiveled they face the end of the sofa bed and a bench seat at the end of the galley. A removable table is to be added forming a 4 seat dining area. Additionally the left hand seat has been placed a little nearer the bow, This lets Fei put her legs up on the bench-step when facing forward.

A frame is going to be made so that when the left seat is lifted off the pedestal the frame can easily slide on and form a single bunk across to the seating bench on the right hand side


Wednesday, June 22, 2016

On wards and Up


 The refilling of the lower hull continued along with building of the new crossbeams
After the beams the floor was laid. The only variation I made was to drop an area next to the galley. I'm 6'3" and the cross beam for the roof would catch me so lowering the floor will hopefully stop many future headaches.
Once the floor was finished the galley rebuild was started and the shower cubicle was re positioned. and the door reinstalled. The door was lifted 2" to make the cabin more secure from water, and also reduce the chances of head injuries :-) 
The rear engine cover was removed and a new seating area built to make the area usable as a secondary bunk


Tuesday, August 26, 2014

On wards to the Floor, Maybe?

At times this has felt to large a task, but like all jobs it becomes easier when broken down into smaller parts.

So having finished the last stage at the stern of the cabin I now moved to the bow. This was for emotional reasoning but also practical. By doing so I was able to provide a fixed point at both ends but also allowed me to secure cables etc that were floating free. So the first cross beam was created and a floor section laid on top for a foam fill. This was a mix of the salvaged original foam glued together with new aerosol foam. 


Under this had been secured a number of conduits for cabling, steering and ventilation.


After this I was able to salvage the original front entrance step/seat. I decided not reuse the original mountings for the controls and steering as they used up to much cabin space. The original intention was to use a new fitting that would allow the steering wheel to be angled up or down. However due to the age of the cable they were incompatible and the complexity of exchanging the cable was to much. So the decision was made to construct a new control panel at an angle.


I had also bought a generic wiring loom as I thought it would make life easier. But with hindsight I think that was not so. The loom assumed a rear or central control setup so required a large amount of adaptation to serve my needs


Eventually the front control area was complete. Now awaiting its chance to be clad in Aluminum and to have the gauges installed. Next to the central cabin and perhaps less complexity?


Tuesday, February 4, 2014

The Start of the First Fix

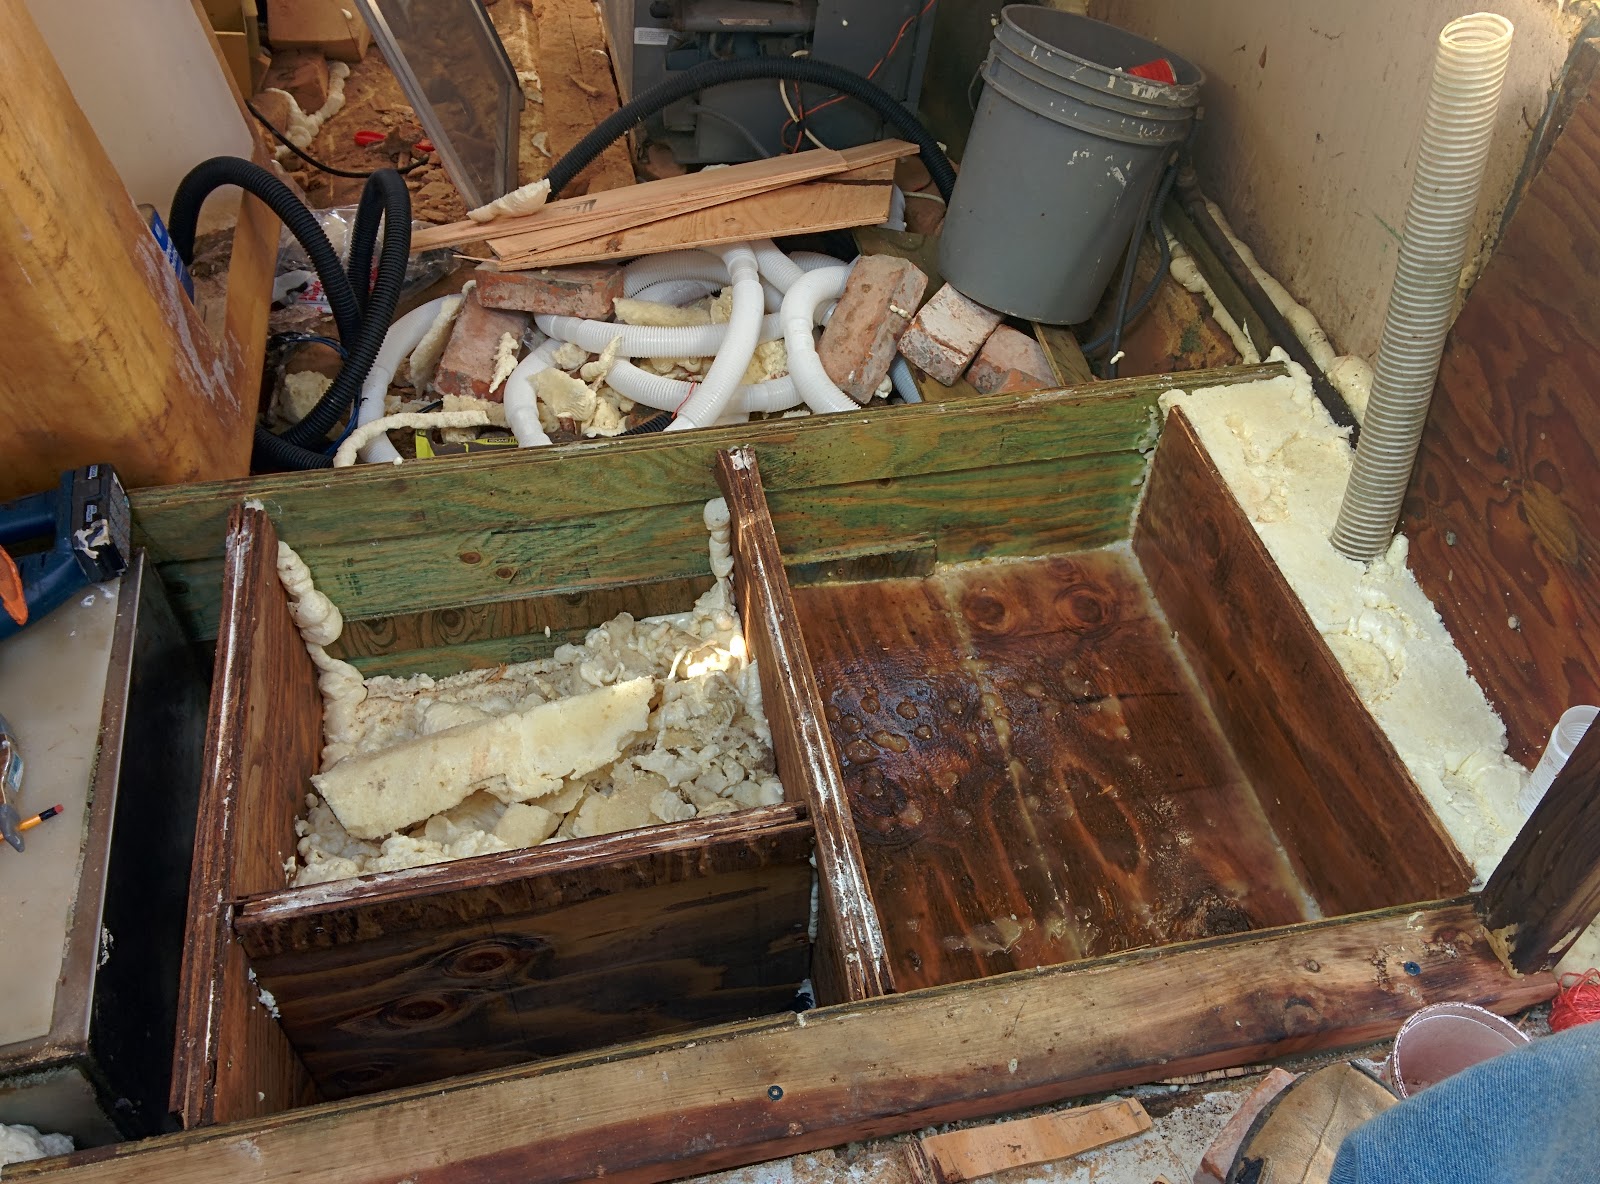
Now I turned to the back of the cabin. This had been completely removed with rest of the interior. The first task was to build the first cross beam to provide a water tight bulkhead. The first picture shows it full height. The final height was to be adjusted as I wished to raise the door so I would have to stoop down less than before. Also 3 of the drains can be seen and a conduit leading to the engine area for controls and wires. Just under this can be seen the existing conduit for steering and the engine controls.


The door frame was rebuilt and fitted approximately 2 inches higher which helped with headroom and provided a lip to prevent water entering via the door to the cabin space. The fresh water tank was replaced to the right and then the second cross beam was assembled.

Between the two beams 3 sub divisions were added to the left this provided and area for both the engine start battery and the house battery bank. At  the back in the center has been left a sump to allow any water that might enter the cabin to collect and then be pumped out. Hopefully this will also allow air to be blown through producing a cooling effect for the cabin. Only time will tell if this works.


The next stage will include the first stage of wiring the boat.

Wednesday, January 22, 2014

End of Exploration and Start Of Rebuilding

The destruction now complete I was left with and empty cabin that had only piles of foam , a refrigerator and a shower cubicle left free standing inside.

My first task was to rebuild the left-hand keel beam. The rear part had long ago been eaten away by the termites. Towards the middle of the cabin there remained beam but it was extensively water damaged. Only towards the bow did it seem some might be salvaged.


As I explored its construction I found that it was an early form of engineered lumbar. Being 4 strips of 1/2" Ply each 3" wide. These were on edge and capped with 2" strips of 3/8" Ply forming something akin to an I beam. This had then been glued and bolted to the hull, with the bolts holding the metal keel strip on the outside of the hull.

The remaining salvageable wood towards the bow was allowed to dry and then reinforced with hardener. A replacement beam was manufactured to slot in with the remains. Finally this was bolted and epoxied in place and the final sections glued and screwed in place. Along side the beam I fixed some flexible conduit. This had holes added to it to act like a French drain if water ever again was able to enter this area and stop it building up and rotting the timber.

With this done the foam etc was moved to the left exposing the right hand beam. This was in much better shape All that was needed was some time for it to dry and reinforcing with hardener and towards the bow the sides and top were reinforced with external splinting by some additional new ply.

Now onto the rear of the cabin and cross beams etc.

Thursday, January 9, 2014

Good News Bad News. The Hull is water tight

So now the exploration continued. The bottom of the first cross beam, which was ply with a cap of wood was rotten and the bottom quarter inch of foam was wet. The same applied at the next beam. This led to the inevitable conclusion that all the cabin fixtures had to come out as the floor had to be lifted.
It was soon clear that the cupboards and dinette were not worth salvaging as it would be easier and probably cheaper to rebuild. So they were quickly removed and cut up for firewood.
Then the serious work of lifting the floor. This came out easy but the foam was harder and much more volume. As I worked back the cross beams were increasingly rotten and now the bottom 4 inches of foam was wet. By the time I got back to the cabin door I had over 2 inches of standing water. Much to my relief when the cabin door and cross beam below it was removed I had a cascade of water draining out of the bilge drain.
Now to assess what was left.